I haven't blogged a sewing success in awhile. Partially because I really hate trying to get photos of myself in my dark, crowded home (or out in the world with strangers all around - *shudder*). But it also feels like I haven't sewn anything wearable in
ages.
I started taking a
patternmaking class in mid-March and it's been pretty wonderful. At first I was laughing at the absurdity of maybe sticking with it for the whole 2.5 years, but I keep finding myself really looking forward to learning to make things later in the curriculum (button-up shirts! bomber jackets! pants!!) and honestly I'm still excited to spend most of my weekends doing homework for it. So I kinda think/hope I may be able to stick it out!
But spending most of my weekend drafting patterns and sewing muslins means I have way less time than I used to to sew real, finished things that I can actually, you know, wear. And I still have a full time
job (which has been extra busy lately) and a
pup (who was sick this past week), and boy it's a lot. I just want a finished project to feel excited about!
So this is the story of the shorts I've spent bits and pieces of weeknights and weekends on in the last month and a half. There have been lessons and successes and mistakes, and I'm about to shelve these mostly-finished jerks indefinitely because it is just not happening right now. I have trouble just letting go of something unfinished, so this post is my closure (at least until I decide to try again).
The shorts
These are the
Thurlow shorts from
Sewaholic. This was my first time buying from this company, and honestly I haven't had the best experience. Certainly some of my issues were due to just not being experienced in the techniques that are glossed over in the instructions. But in general, I think I'll stick to my tried and true favorites (
Deer & Doe +
Tilly & the Buttons never let me down!).
I was, erm, inspired by a pair that Lauren of Lladybird
posted on her blog and .... decided to straight up remake them, buying the fabric she suggested too. I've seriously been trying to buy a pair of cool-toned red shorts for years and everything I've found is more of a summery coral, so I was in love as soon as I saw them! I bought a ton of the fabric and previously
made a skirt with it, which I adore.
Muslins
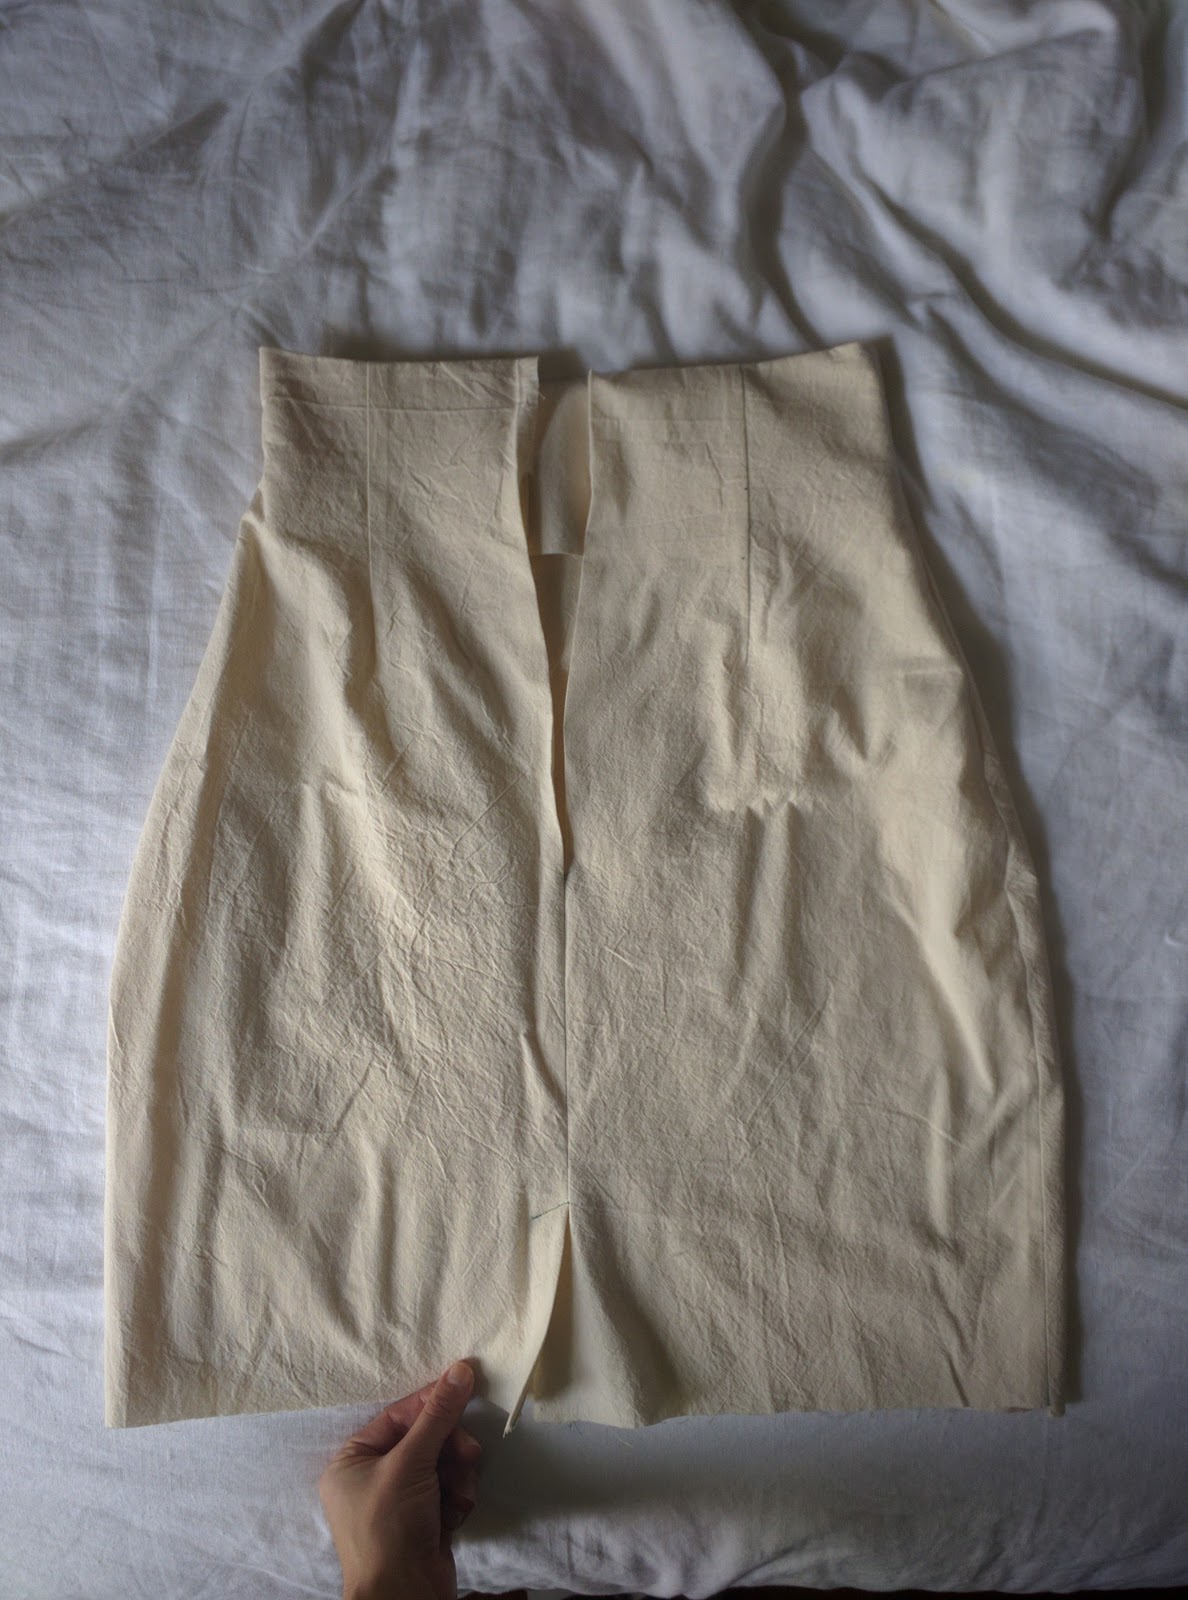
Since shorts and pants are tricky to fit (so many dimensions!) I made a muslin. Two actually! The first was far too big, so on the second I went down a size and made some other tweaks (hacked off some length, added a bit to the tight front crotch). I tried these one and thought "yup, looks good to me!". But I think the lack of fly and different fabric from my final pair threw me off and I was wrong... More on that later.
I finished muslin #2 only a week after starting. Not bad, considering I only had so much time to work on these!
Learning things
There were a ton of new skills I picked up while making these. The first one - welt pockets. I started going by the pretty sparse instructions and got a bit lost, but
Lladybird's sewalong got me right back on track (and I managed to hide what was a minor mistake and make what I think are pretty damn good welt pockets!). Look!!
Zipper drama
(So much zipper drama.)
I got started on the first couple of steps for the zipper fly and then... panic. I needed a 4 inch zipper and wanted to go with metal. Turns out they don't really sell those at most places. I googled and the internet made it sound easy to remove teeth with pliers, but I was getting ready for my
trip at this point and decided to wait to fight this zipper battle.
I got back and eventually decided to face my fears. I did some more googling, took a pair of needle-nosed pliers to the zipper, and... nothing. I literally could not remove a single tooth, and I was worried I would destroy the zipper tape if I tried any more aggressively. I finally found something that suggested another tool (a
side cutter), so I ordered one of these on amazon and put my shorts on hold again.
The side cutters came and I went for it. It was awkward and a bit messy but things were going ok! Until - I managed to let my zipper pull get too high and it fell off its tracks. The only way to get it back on was to remove the bottom stopper and pull it up from the base. In doing so, I broke the bottom piece in two and had a bit of a meltdown for a few minutes. IIRC this was a weeknight after a loooong day at work. Not the best time to try this.
I managed to channel my frustration into an instagram post (ha), and it was actually the best. My friend tagged her friend who is a real fashion designer, and she left me comments across
a few posts with way more tips. I was excited to try again! But my zipper was already broken beyond repair so I had to wait.
I was able to make it to the fabric store a few days later and bought 3 more zippers (basically everything they had in metal+black under 10"). I tried again, this time being careful with the pull so it didn't come off again, and being extra patient and careful when removing the teeth. Using a combination of my side cutter and pliers, I made a beautiful 4" zipper! Hooray for successes! After this, the fly was pretty straightforward (although again, the sewalong helped clear up some of the more vague instructions). Another new skill!
I'm still wondering how so many people have made these shorts/pants and there isn't more on the internet about shortening a stubborn metal zipper! But it's possible a polyester zipper, which is easier to shorten and to find in 4" length, is better here anyway. Whoops.
Waistband confusion
On a roll again! Time for the waistband - I know how to make these! I interfaced, sewing the facing to the outside waistband, topstitched and pressed, and attached one side. Then I got to the other side, which goes under the other side of the waistband at the front fly and has a little triangle point where they overlap. And... my waistband was far too short in the front, even though the center back and all notches matched up just right. I spent an evening trying to figure out what I could have done wrong, then scouring the sewalong and googling. I finally realized I'm
not the only one with this problem. Even the sewalong host had run into this and just chalked it up to her own error!
I tried to figure out what was wrong here. As a commenter pointed out, the waistband pieces are the only ones that don't mention included seam allowances on the pattern. I at one point convinced myself that the waistband was probably missing seam allowance all around. But - adding a seam allowance at the center back would completely throw off the notches matching from that direction. So I'm just confused. I emailed Sewaholic support a week ago asking if they can clarify and... no response :( I'm pretty convinced this is an error or oversight in some way (since I'm far from the only one who has had this issue), and I'm frustrated that I haven't heard anything back.
I decided to hack it myself by just adding some length right at the front. I measured how much longer it would need to be and ended up adding an extra 1 1/8" between the frontmost notch and the front point. (Which is eerily close to adding 5/8" seam allowances x 2....) I made an entire new left waistband (main fabric, facing, 2x interfacing and assembly) then attached it to my shorts. Time to baste up the back and check the fit!
Fit
Wahhhhhh. I tried them on and... so tight! A giant wedgie! Whyyy!? I can hardly fit my hands in the pockets, the zipper bulges, and there are lines all around the crotch. And oh dear god, the butt. Looking back at my muslin photo, I can see some of the front issues. But it is way exaggerated in the final shorts. And since I thought I was good to go, I finished seam allowances as I went and don't have much room to take the seams out. (I tried. It wasn't enough to help.) I can put them on but they are pretty uncomfortable and ride up in the butt enough that I deem them unwearable.
sigh. After a month and a half of working on these, it's very frustrating to have to start over.
butt shot ^ sorrynotsorry.
I did recently buy
The Perfect Fit, although I haven't even opened it yet. I think it'll help me modify these so I can start another pair (and surely those will go more quickly, with so many lessons learned!). But honestly I don't have the patience for another go at these shorts right now.
Maybe I'll find a friend who is just a little smaller than me and would wear a pair of red shorts and finish these up (eventually). All that's left is attaching the inside of the waistband, adding belt loops, hemming and cuffing (they'll lose several inches of length), and adding a button and hook & eye. And hopefully someday I'll finally fulfill my own red shorts dreams :)
But for now I'm off to sew some summer-y Deer & Doe patterns I've been eyeing for awhile (seriously - I have a big backlog after spending so long on these). And I have to say I'm not really sad to say goodbye to working on these shorts for awhile.
Bye, Thurlows.